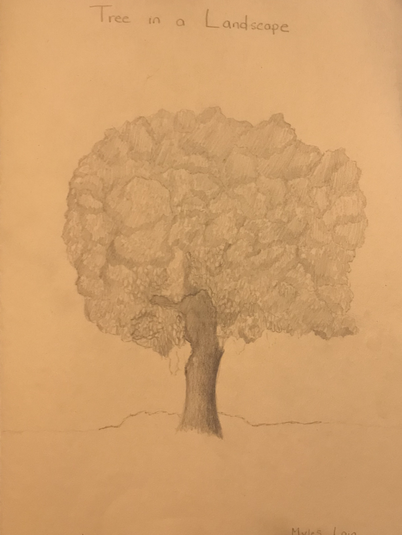
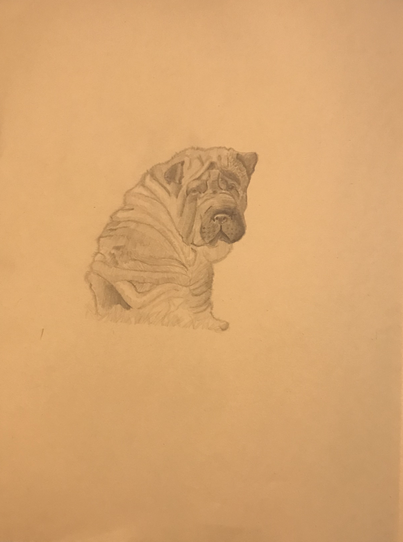
This is a drawing of a tree and a puppy that I did with pencil.
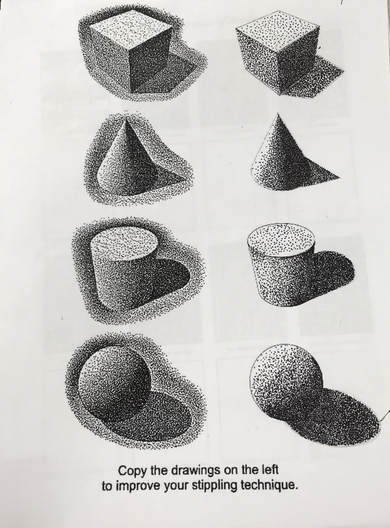
This is me drawing a side by side of the shapes to the left using the stippling technique with an ink pen.
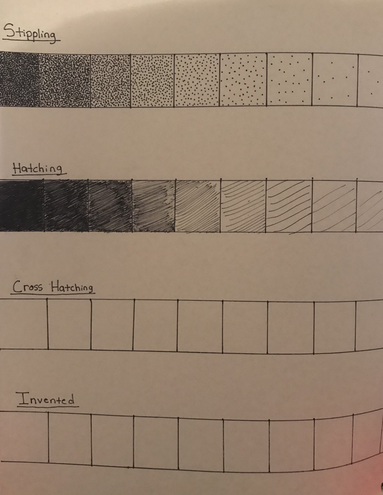
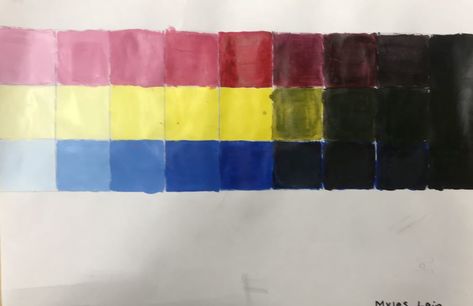
A value scale I created using different techniques with an ink pen.
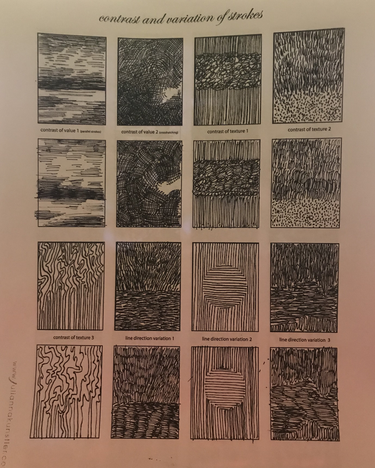
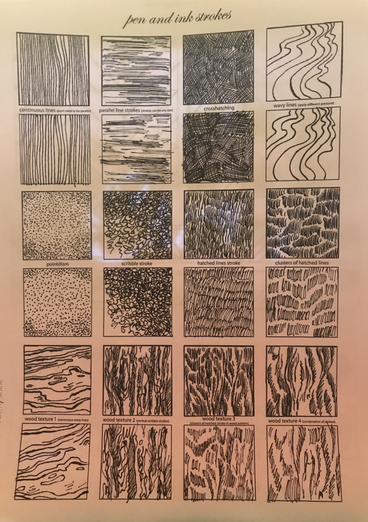
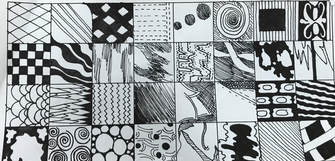
Different pen strokes and textures I copied down using an ink pen.
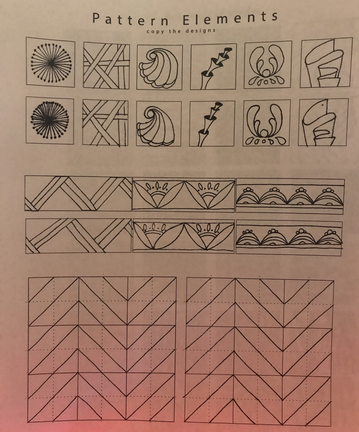
Patterns I copied down using an ink pen.
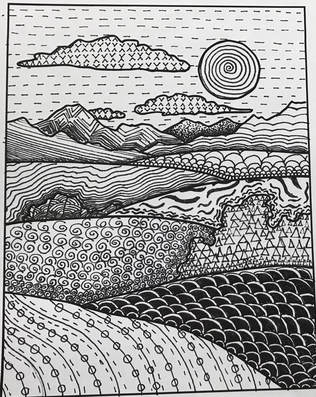
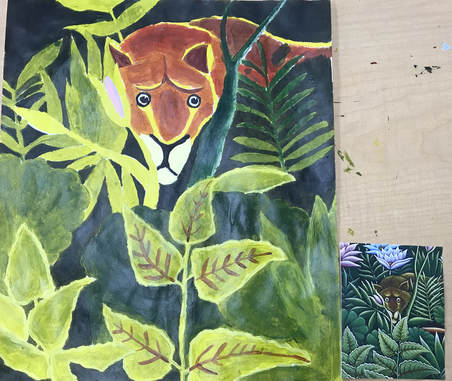
A landscape that I filled in with patterns using pen and ink. I tried to make the parts where the hills overlapped darker so that the distance and depth really pops.
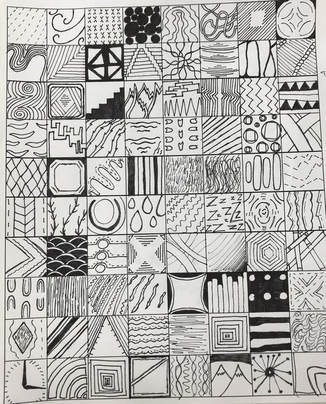
This is one hundred pattern/texture boxes that I did to help me practice for the final.
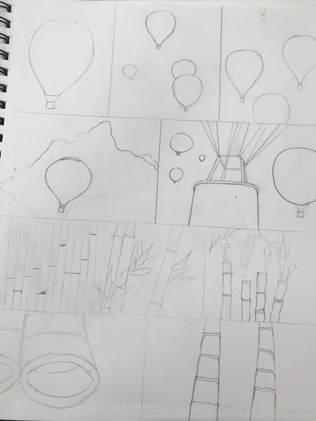
These are my composition sketches that I drew to help me pick out an idea for my pen and ink final.
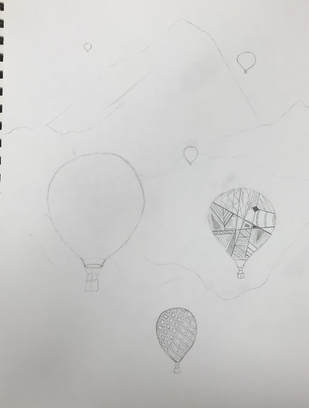
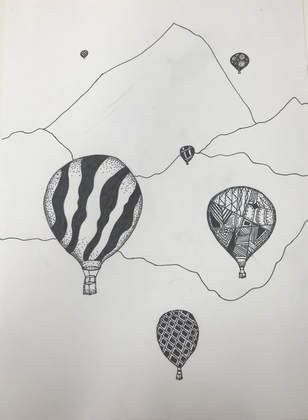
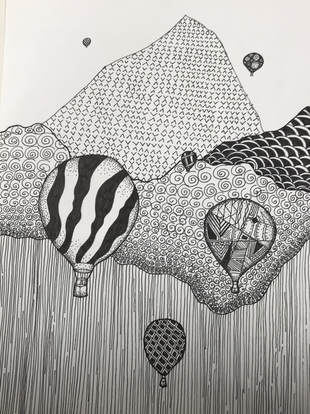
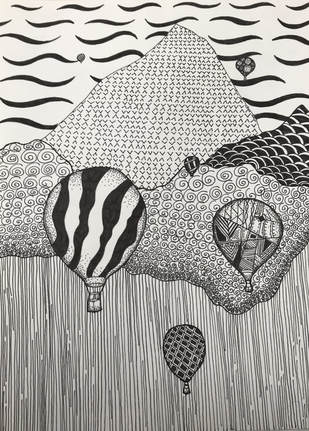
1. I arranged my composition by really wanting to do a mountain, but i felt like that wasn't enough. This is why I added the hot air balloons so I could add more patterns and it would be much more unique. I feel like it is a successful composition because I used multiple patterns and still had value in the piece.
2. The texture and pattern is important because it is what brings this type of piece to life. We use these styles so that the artwork pops to the viewer.
3. Value is so important because you wouldn't be able to tell the depth of anything without it. The patterns would just make it look like all of the objects are blended together.
4. My craftsmanship is pretty detailed and put together well I feel like all of the drawings are drawn well, but i could have chose better patterns to put in them.
5. My knowledge helped me to not make the big mistake of adding no value. If i didn't have knowledge about patterns and value then my entire piece would look terrible and plain.
6. It is important to understand the concepts taught in class because your piece will not look anything like you imagined it if you don't execute those concepts properly.
7. What I have learned will help my projects to just keep getting better and better as I go along. It will make my projects to be much better than what they would have been if I did not learn any of this.
8. If i could recreate my piece I would choose different patterns. I really like the landscape i chose to draw but I fell like it would look better if i had patterns that more fit the landscape.
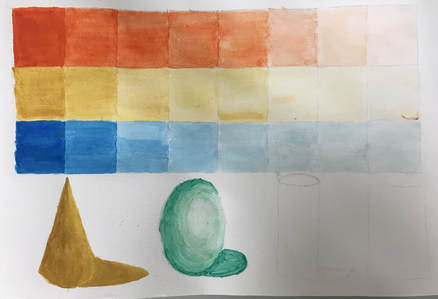
This is a value chart and a couple of shapes that I painted using watercolor.
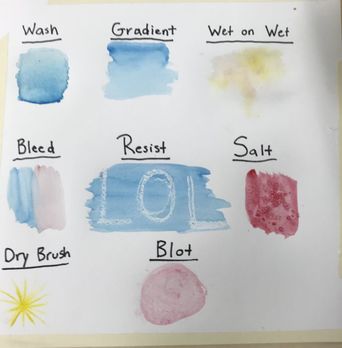
This is eight different examples of watercolor techniques.
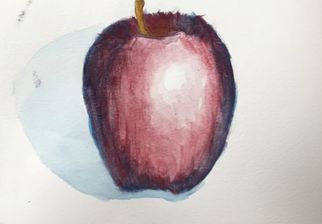
I painted this apple using watercolor and trying to use different colors in it to create the shadows and value.
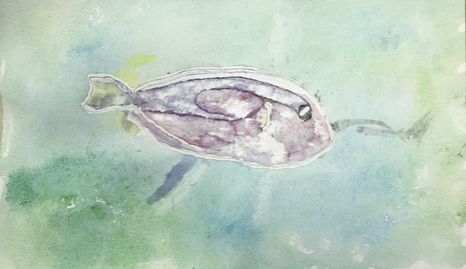
1. I had to first draw out whatever I wanted to do for this project, (in my case a fish) and then we had to apply masking fluid wherever on the piece where we wanted white highlights to be. Then I poured pant on the damp paper and mixed it around to create the color I desired. After that, I applied masking fluid to the parts I wanted the color that I just poured on. After I put the masking fluid on, I then dried it with a hair dryer. You just keep repeating these steps until your piece is completely filled in and colored.
2. Difficulties I had were: Creating the exact color that I wanted that specific portion to be. I also had trouble at the end with my colors not being as rich and saturated as I wanted them. They were kind of grey and bland.
3. I learned that you have to be very precise with the masking fluid when applying. I also learned that the less water you add, the darker the colors will be. You need to be smart with which portions your put paint over first. Make sure to add some water or there will be too much paint stained on the paper.
4. I would apply a stronger coat of masking fluid if I could do anything different from the last time.
5. I made sure to put a solid layer of masking fluid on each layer of paint, and I also used different techniques to add texture to the wet paint.
6. The mini lessons helped to just get the feel of water color and to understand how it works or what happens when you either add more or less water. So I would say it was beneficial.
7. I thought having a guest artist was awesome because we got to learn from someone who has a ton of experience and also were able to intake really useful tips from him.
8. I learned from the guest artist that you won't be successful without failing.
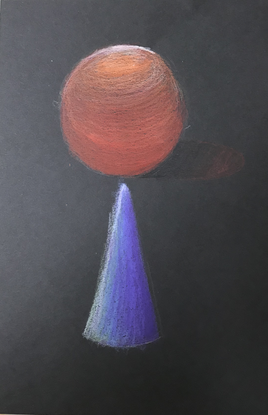
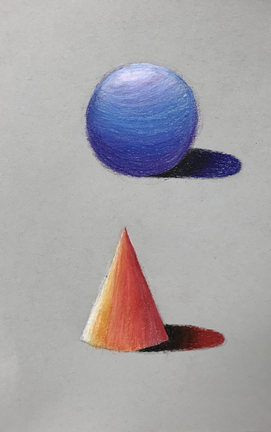
These are drawings of two shapes on different colored paper that I drew using prisma colored pencils.
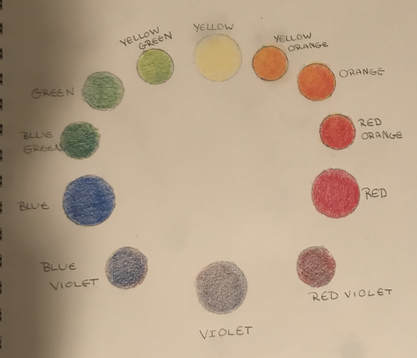
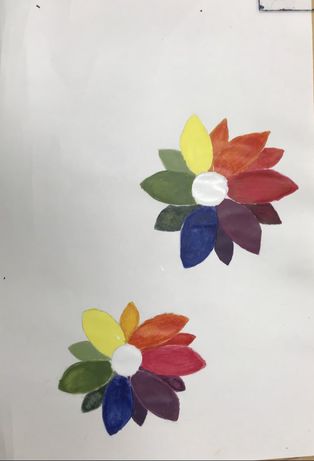
This is a color wheel I created using only red, yellow and green prisma colored pencils.
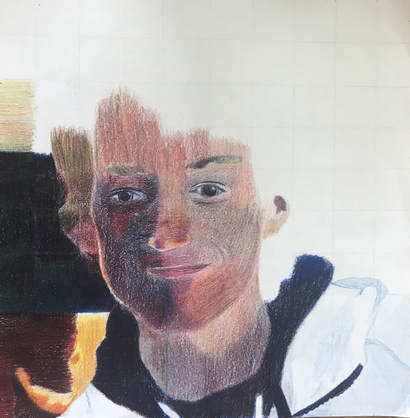
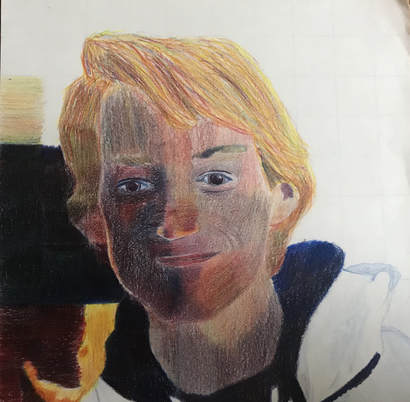
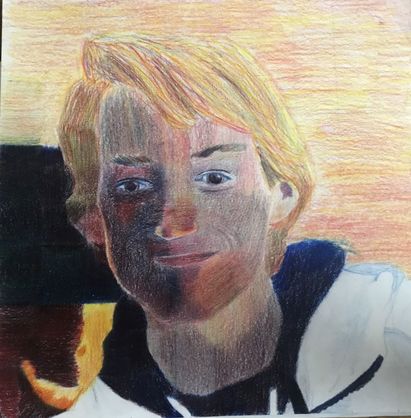
1. Parts of my portrait show neat, smooth layers, but I wish I definitely could have used better craftsmanship throughout more of the piece.
2. I had difficulties when dealing with the shadows on my face. This is because the whole other side of my face was a lighter tone so I had to find a way to blend all of that in. It was pretty difficult and I feel that I could have done better.
3. I did draw each grid box separately, this helps the piece come out more accurate even if your mind thinks that it won't.
4. I created value changes by using lighter colors like yellow more often rather than blue or red.
5. I just experimented with all of the colors on a separate sheet of paper until I got the exact color that I wanted.
6. I could improve my portrait by doing a lot better job with the skin color and having better value changes.
7. I feel like I was prepared and that the prisma unit helped me, but I haven't done this before so I fell like if I did it again my results would be much better.
8. I feel that Mason's piece is an example of mastering the techniques because he got the perfect skin tone for his face, and his shading is almost identical to the shading on the actual picture.
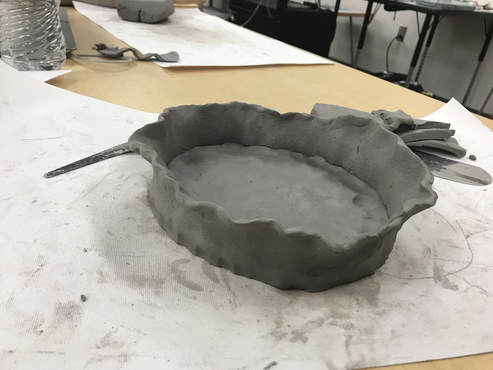
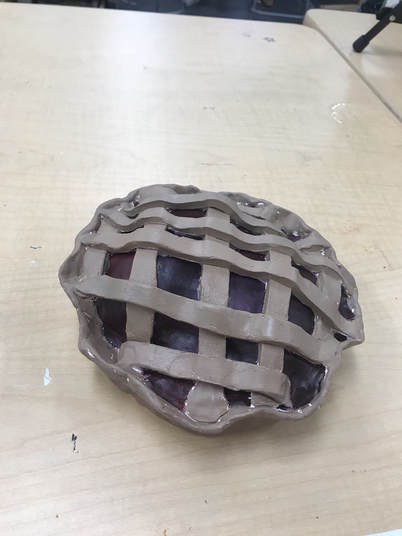
1. The craftmanship of my sculpture is not the best and I feel like I could have done much better if I was more experienced with clay. I could have added more detail and better colors to make the pie look much more realistic.
2. The most difficult part of this projects was creating the crust of the pie. This was hard because you need to make the crust very detailed which takes a lot of time.
3. My color choices didn't work together harmoniously, I feel like they would have looked much better if I had put the glaze on, but I did not have enough time to apply it.
4. My sculpture does look pretty much the same from all views, so there is no specific view you look at that might look off.
5. When you construct a sculpture you have to study the entire object from all angles and views, when doing something 2D, you only have to worry about one specific view.
6. I created textures in my sculpture by molding the the crust with my fingers when the clay was decently wet.
7. My sculpture does look like a pie, I accomplished this by making the sculpture proportionally correct and by selecting the right colors.
8. If I were to do this project again I would definitely take more time to do it and add much more texture.
Victor Vasarely
1. duo-2 Painting
2. Zebras Painting
3. Encelade Painting
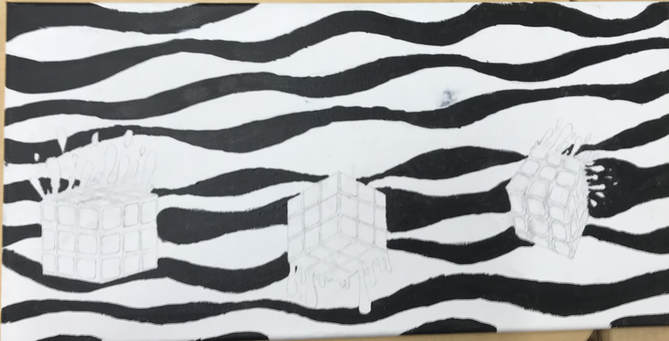
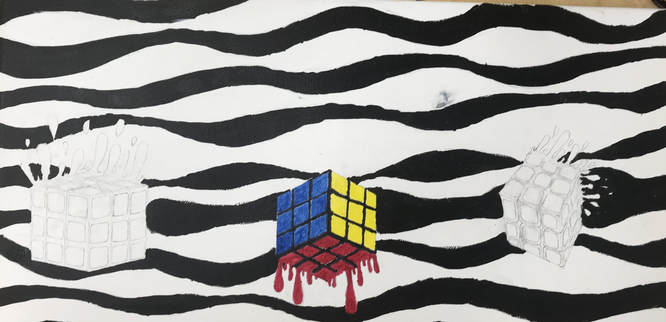
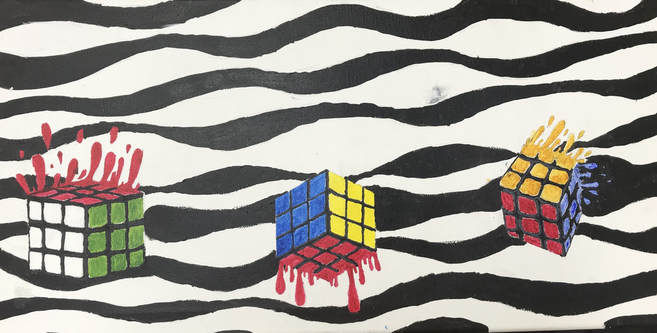
4. Rubiks Cube
2. I believe that the craftmanship of my painting is neat and well executed because I made sure to proportionally draw the cubes at the right angles and I used a ruler to make sure all the lines were straight.
3. The most difficult part of this projects was painting in between the small spaces of the cubes.
4. My color choices are all the six colors in the rubiks cube, these colors reflect Victor's artwork because he uses a variety of vibrant colors in his paintings and the black and white correlate with many of his black and white paintings.
5. The style of this landscape reflects Victor's work because it involves many of the shapes that he incorporates with his paintings and the background goes with many or his pieces.
6. I think that he would say that it represents his mindset when he creates his own art pieces.
7. If I was to do this project again I would probably add more cubes and more detail into the background to create a more "trippy" effect.
1. duo-2 Painting
2. Zebras Painting
3. Encelade Painting
4. Rubiks Cube
2. I believe that the craftmanship of my painting is neat and well executed because I made sure to proportionally draw the cubes at the right angles and I used a ruler to make sure all the lines were straight.
3. The most difficult part of this projects was painting in between the small spaces of the cubes.
4. My color choices are all the six colors in the rubiks cube, these colors reflect Victor's artwork because he uses a variety of vibrant colors in his paintings and the black and white correlate with many of his black and white paintings.
5. The style of this landscape reflects Victor's work because it involves many of the shapes that he incorporates with his paintings and the background goes with many or his pieces.
6. I think that he would say that it represents his mindset when he creates his own art pieces.
7. If I was to do this project again I would probably add more cubes and more detail into the background to create a more "trippy" effect.
